News!
I’m excited to announce that we’re in the final stages of testing for the new release of BatchPatch, expected to “drop” in August. We’ve got all sorts of new features lined up plus lots of other little enhancements, as well as bug fixes. Some of the new features are listed below.
—————————————————————————————————————————-
—————————————————————————————————————————-
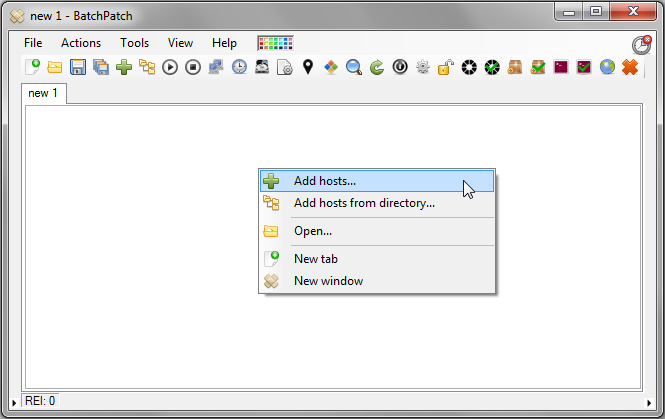
Tabbed Interface
The new tabbed interface is great for those folks who are dealing with lots of hosts or lots of host groupings. This should make it much easier to manage your BatchPatch grids to be even more efficient with your patching.
![TabbedInterface]()
Multi-grid Interface
The new multi-grid interface gives you an alternate view of your tabs, allowing you to look at them all simultaneously, tiled inside the main BatchPatch window. You can easily switch between the multi-grid and regular tabbed interfaces.
![MultiGridInterface]()
Custom User-defined Commands
You can now create and save as many commands as you want, allowing you to easily execute and view the result of any command on a target host with just a single click. This option allows you to fully customize BatchPatch, making your own custom commands appear hard-coded into the menu.
![UserDefinedCommands]()
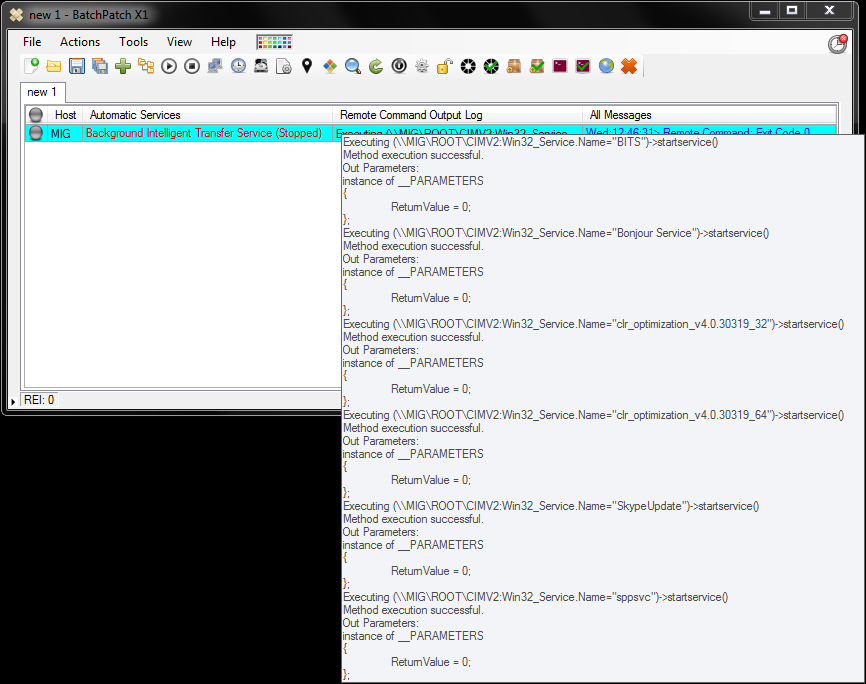
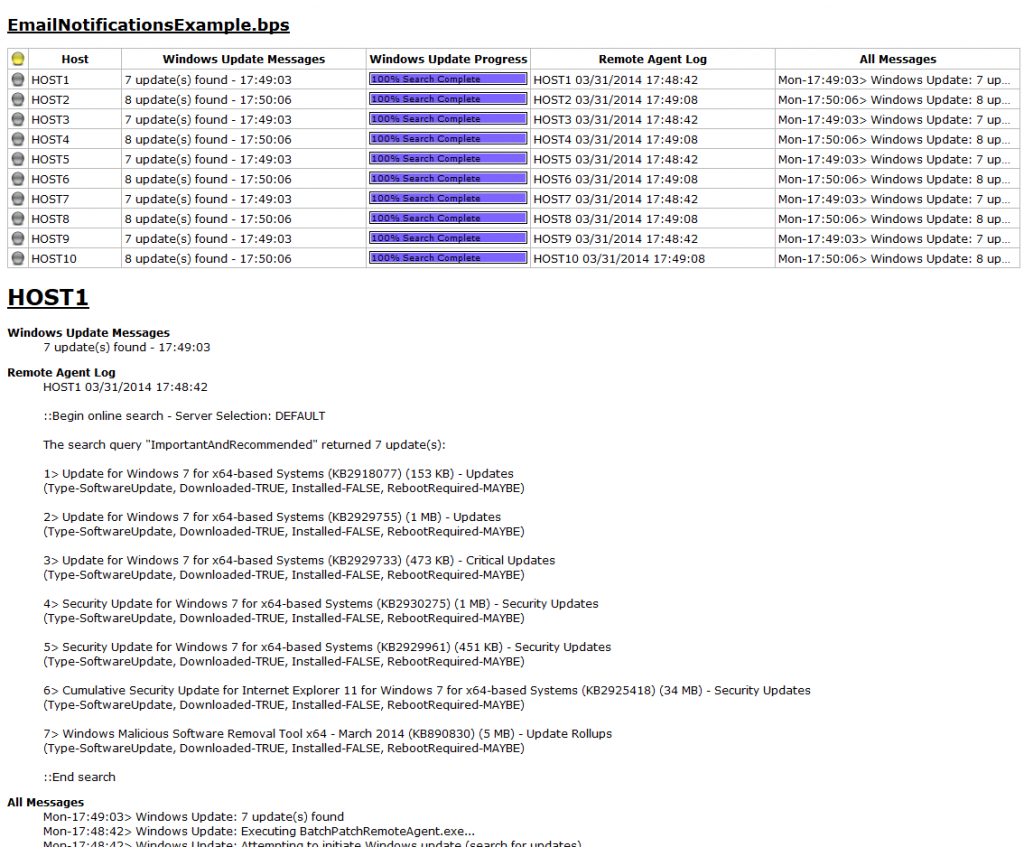
Remote Console Output
There are now plenty of ways for you to view all the console output of commands that are executed remotely.
![LoggedOutput]()
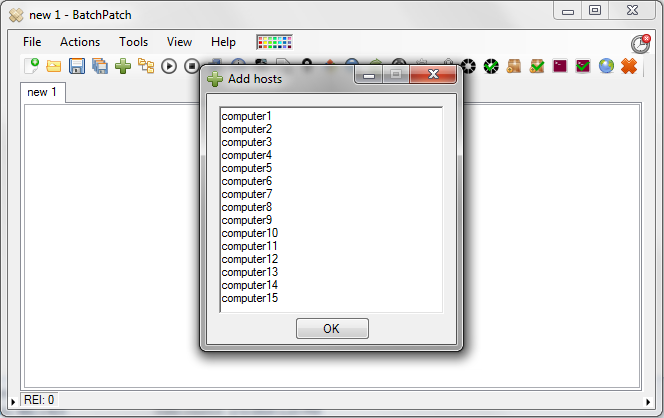
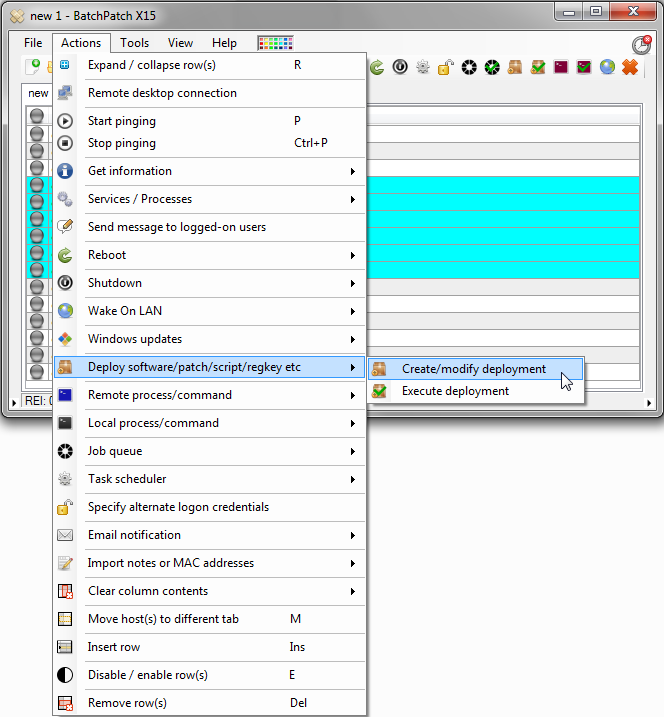
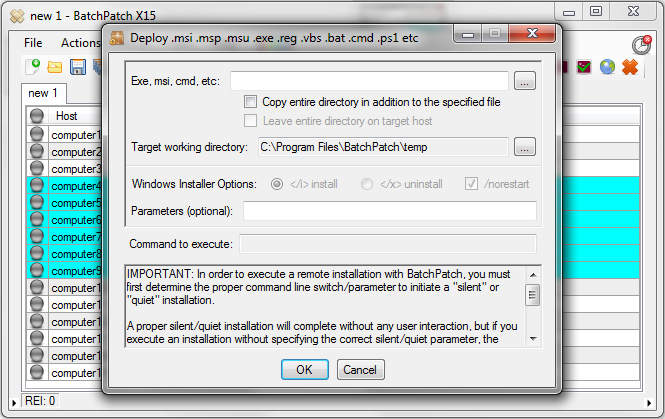
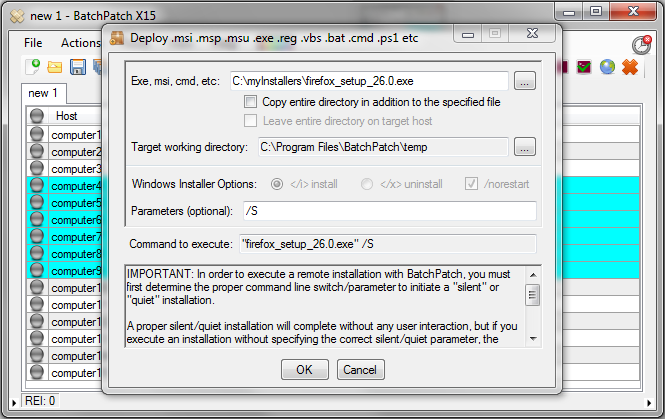
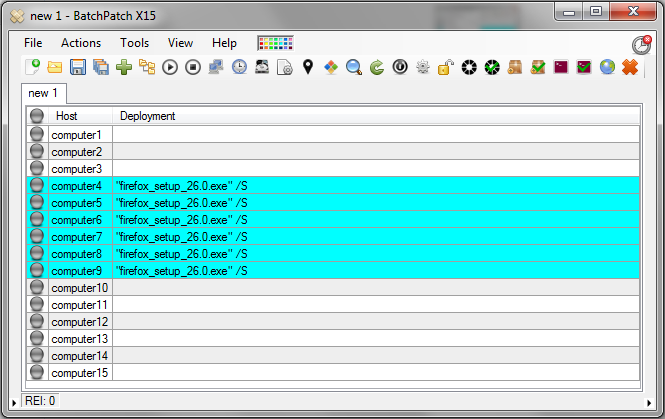
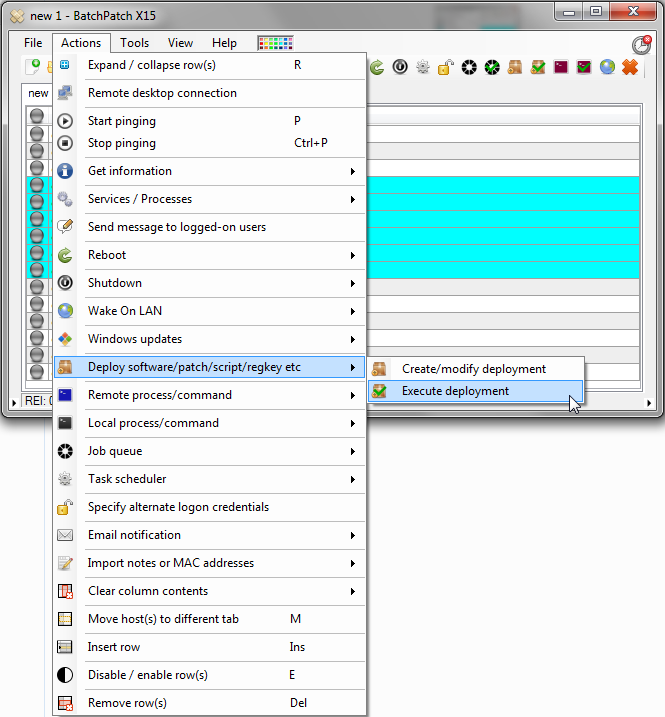
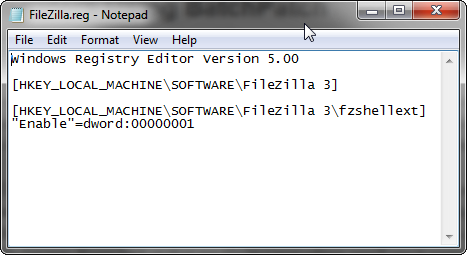
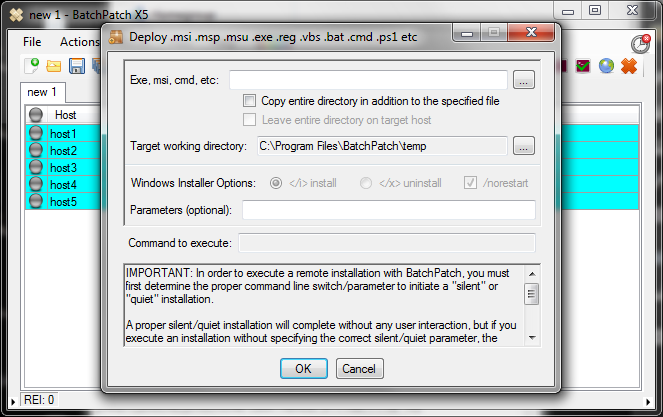
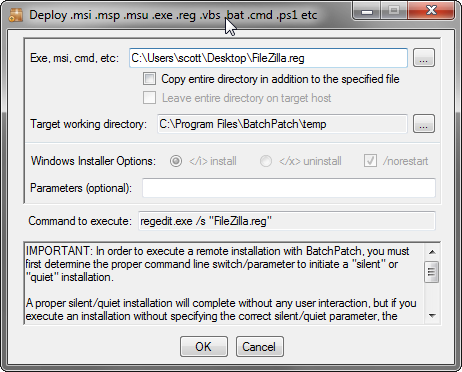
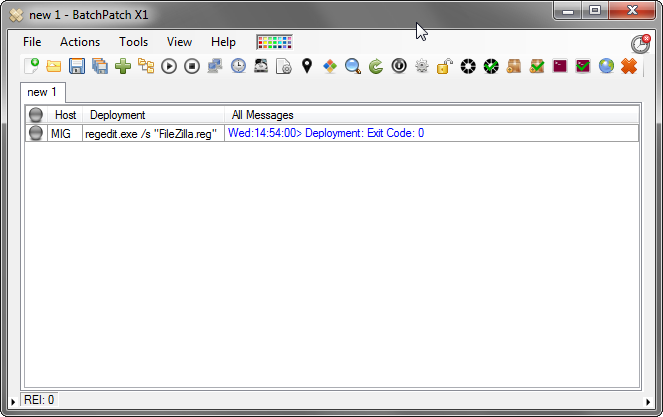
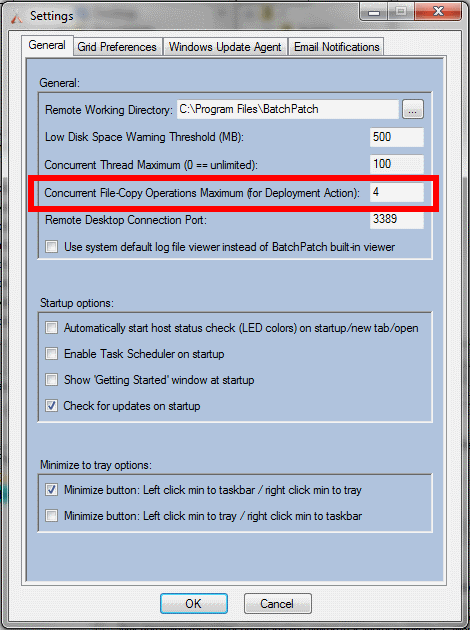
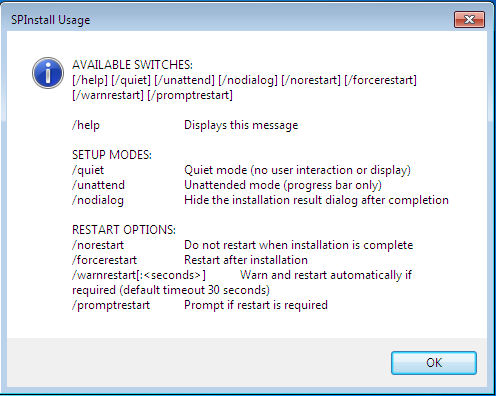
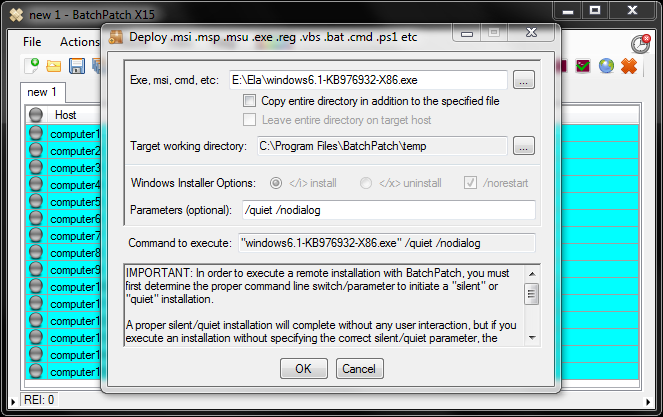
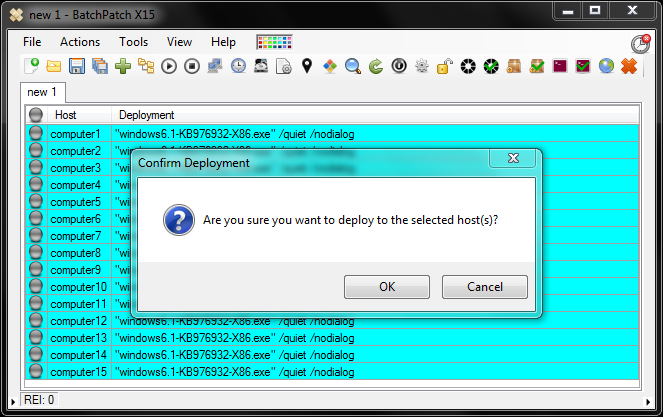
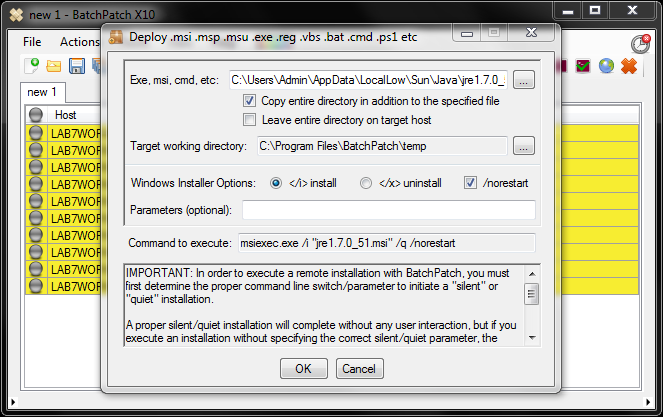
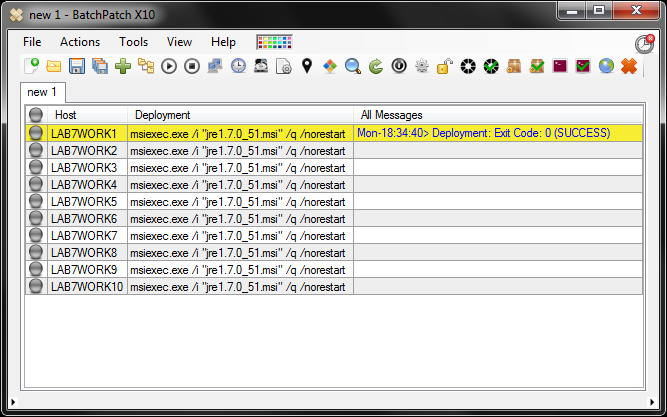
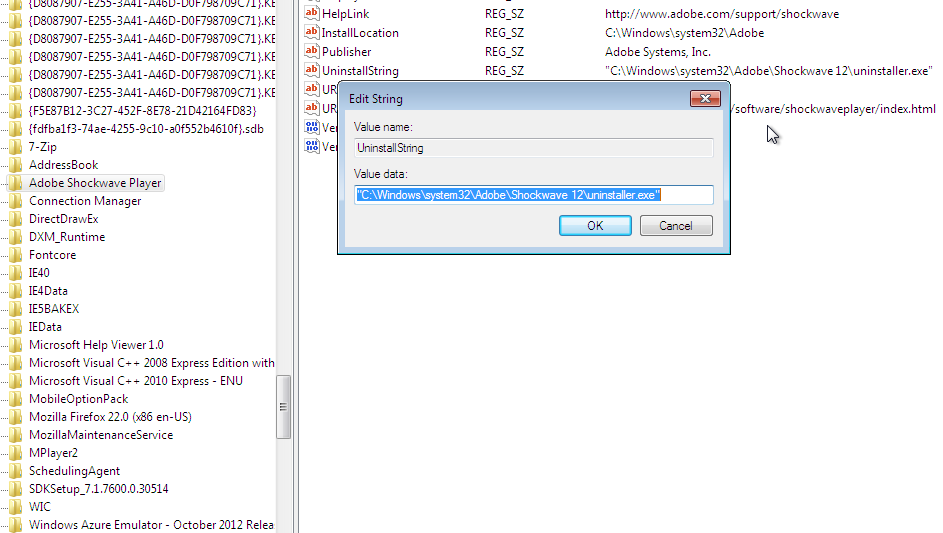
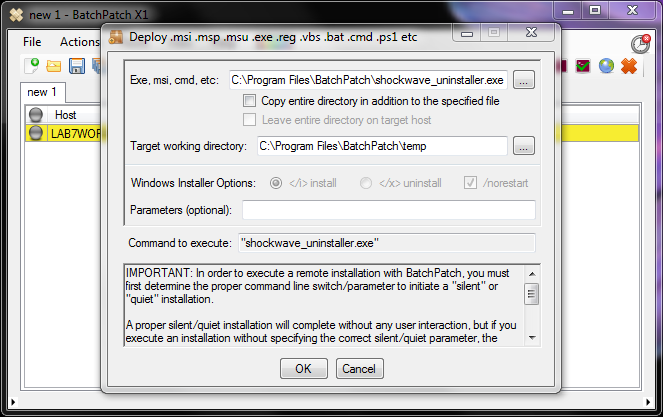
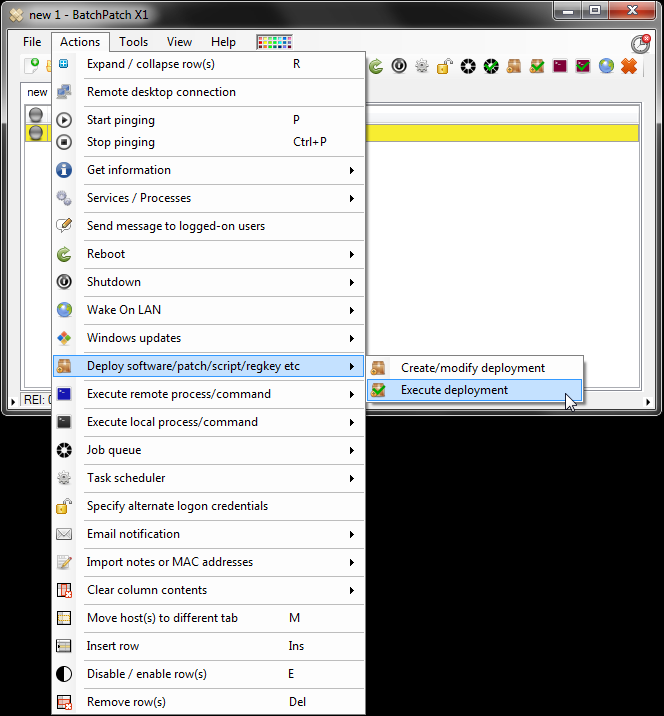
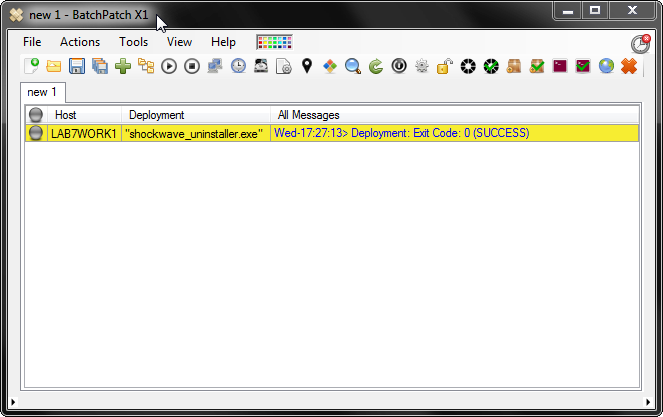
Improved Deployment Options
Deploying software and patches or standalone updates like MSI, MSU, MSP files has never been easier. BatchPatch can remotely deploy/execute just about any type of file, including EXE, VBS, REG, BAT, CMD, PS1, etc. If you need to install software or run a package on many computers simultaneously, you can do it with BatchPatch’s Deployment feature and just a few clicks.
![Deployment]()
Update and Reboot Cycle
BatchPatch now gives you an easier, automated way to execute a patch and boot cycle on your computers. For example, let’s say you want to install Windows updates on a list of computers, then reboot, then download and install any new Windows updates, then reboot again. It’s extremely easy to do this with BatchPatch. If you need the cycle to repeat 3 times, 4 times, or 10 times, no problem! It only takes a few clicks to customize the cycle to suit your needs.
![UpdateRebootCycle]()
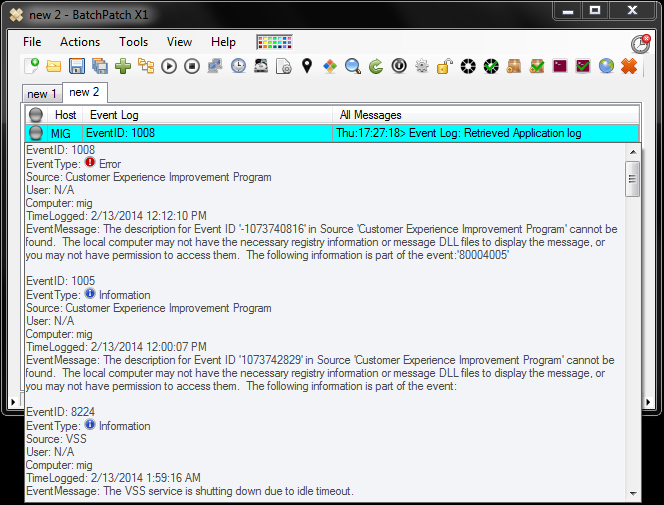
Improved Scrollable ToolTip
The primary tooltip that is displayed when you middle-click on any cell is now scrollable, resizable, and moveable with right-click-drag or middle-click-drag. It also supports ctrl-c to copy text to the clipboard.
![ScrollableToolTip]()
Concurrent Thread Maximum
The new concurrent thread maximum setting gives you more control over performance when patching. As you choose more actions to run they are added to the queue, to be executed only when there is a free thread available.
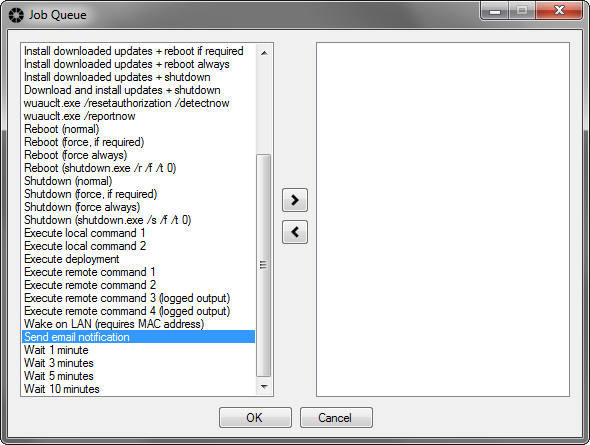
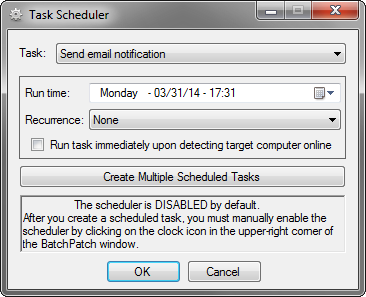
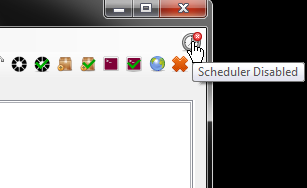
Scheduler
The scheduler now supports a new option to execute a task immediately upon detecting a target computer online, rather than having to set a specific date/time. This makes it easy when deploying to a large group of users who do not always have their computers on the network. BatchPatch will simply wait until the computer is available on the network before executing the desired task.
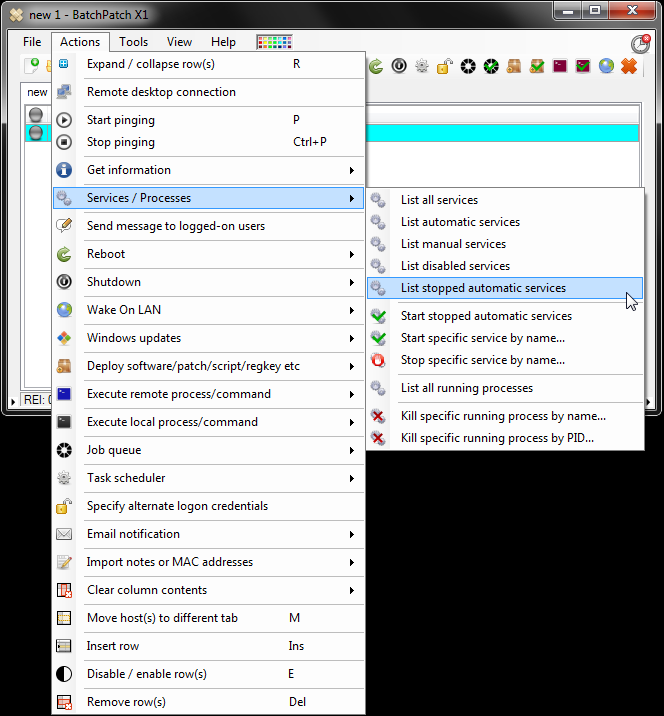
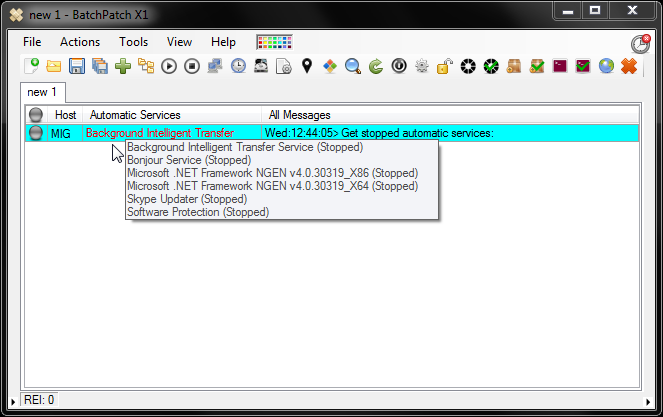
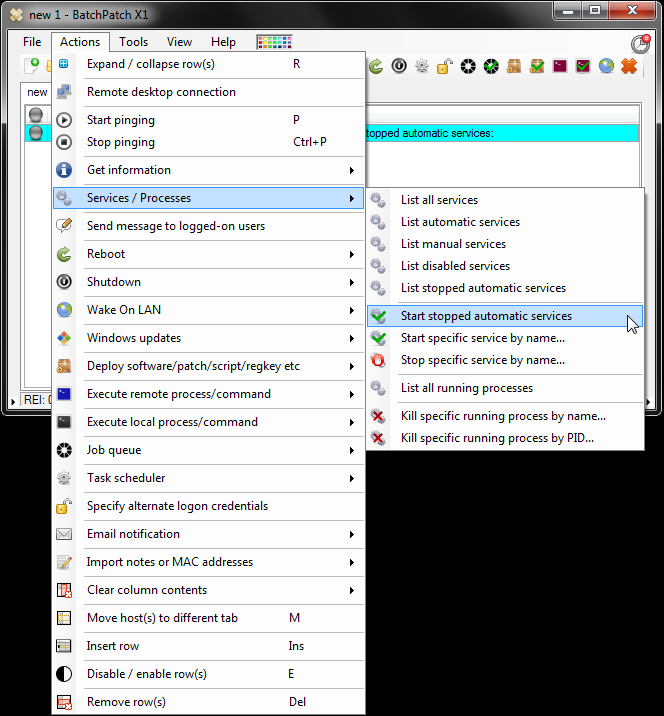
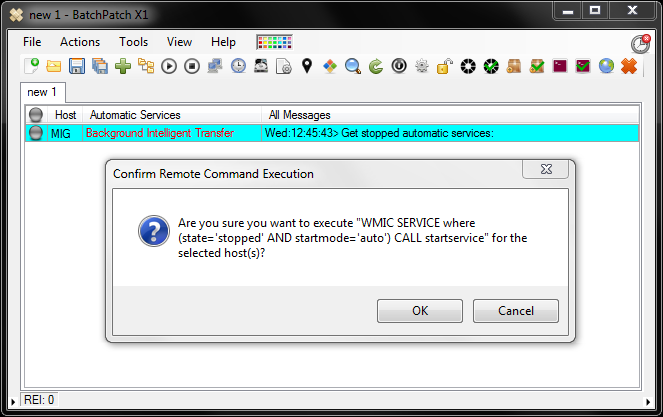
Start and Stop Services by Name
Just as it sounds, the new version enables you to start and/or stop individual services on target computers
Kill Remote Processes by Name or PID
Kill any remote process on target computers by specifying either the process name or the process ID.
More Features Coming Soon!
We have more features planned, so please stay tuned. And of course, as always, if you’d like to request a feature or submit a bug, please either post in the forum or contact us directly.